In this guide, we’ll deploy a FastAPI application using Uvicorn behind an Nginx reverse proxy on an Oracle Cloud Ubuntu VM. This is ideal for production deployments where speed, scalability, and stability are essential.
Stage 1: Oracle Cloud Account & Virtual Machine (VM) Setup
- Create an Oracle Cloud Account
Sign up at https://cloud.oracle.com - Create a Compute Instance
Go to: Dashboard → Compute → Instances → Create Instance - Name Your Instance
Example: dydevopsapp - Choose OS Image
Select Ubuntu 22.04 - Select Shape
Choose VM.Standard.A1.Flex (select 4 OCPUs and 24GB RAM — included in free tier) - Add SSH Key
Paste your SSH Public Key (generate withssh-keygenor PuTTYgen) - Create Instance
Click Create and wait for the provisioning to finish. - Note Public IP Address
This will be used to SSH and access the server via browser.
Server Configuration (Oracle Cloud)
- OS: Ubuntu 22.04
- Shape:
VM.Standard.A1.Flex(4 OCPUs, 24 GB RAM, 4 Gbps) - Public IP:
140.245.99.185 - Username:
ubuntu - Hostname:
dydevopsapp
Stage 2: Install and Configure Nginx
- Open Terminal (Mac/Linux) or PuTTY (Windows)
- Run: ssh
ubuntu@<your-public-ip>
Update and Install Nginx
sudo apt update && sudo apt upgrade -y
sudo apt install nginx -y
To check which UFW profiles are available, run:
sudo ufw app listOutput:
Available applications:
  Nginx Full
  Nginx HTTP
  Nginx HTTPS
  OpenSSH
Enable this by running the following:
sudo ufw allow 'Nginx HTTP'You can verify the change by checking the status:
sudo ufw statusThis output displays that HTTP traffic is now allowed:
Output:
Status: active
To                         Action      From
--                         ------      ----
OpenSSH                    ALLOW       Anywhere
Nginx HTTP                 ALLOW       Anywhere
OpenSSH (v6)               ALLOW       Anywhere (v6)
Nginx HTTP (v6)            ALLOW       Anywhere (v6)
If UFW is inactive:Status: inactive
Configure Firewall (UFW)
sudo ufw allow 'Nginx Full'
sudo ufw allow OpenSSH
sudo ufw enable
sudo ufw reload
Verify:
sudo ufw statusserver’s public IP address, you can find it by running either of the following commands:
ip addr show
hostname -I
As an alternative, you can check which IP address is accessible, as viewed from other locations on the internet:
curl -4 icanhazip.comWrite the address that you receive in your web browser and it will take you to Nginx’s default landing page:
Check Nginx Service
Run this on your server:
sudo systemctl status nginx✅ If active (running) → Good.
❌ If not running:
sudo systemctl restart nginx
sudo systemctl enable nginx
Test Nginx
sudo systemctl restart nginx
sudo systemctl status nginx
Access your instance via:
Visit: http://<your_public_ip> in your browser
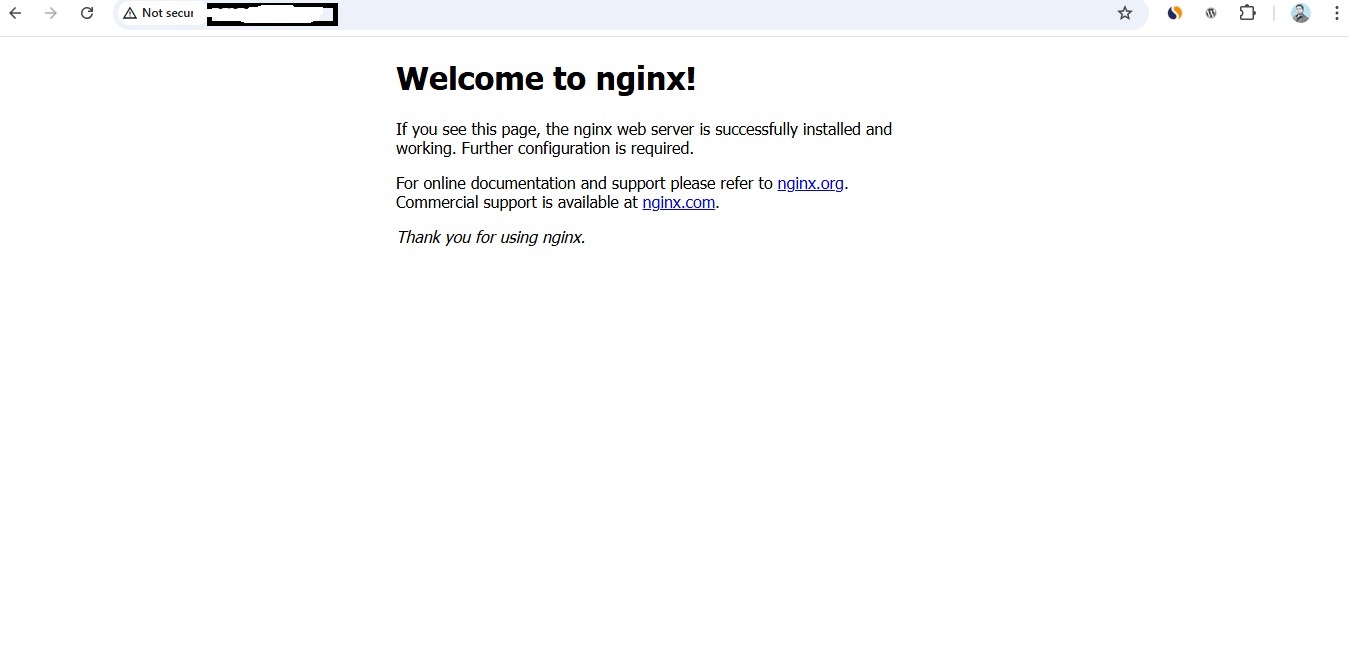
http:// — You should see the Nginx Welcome Page ????
Stage 2.5: Update Ubuntu Firewall (UFW)
If you haven’t already, it’s critical to configure your server's firewall to allow HTTP and HTTPS traffic.
Allow HTTP and HTTPS Traffic
sudo ufw allow 80/tcp    # Allow HTTP traffic on port 80
sudo ufw allow 443/tcp   # Allow HTTPS traffic on port 443
Reload UFW
sudo ufw reloadVerify UFW Status
sudo ufw statusExample Output:
Status: active

Restart Nginx
sudo systemctl restart nginxTest Access
Visit: http://<your_public_ip>
You should see the Nginx Welcome Page, confirming that Nginx is live and firewall rules are working correctly.
Check Port 80 is Listening
sudo ss -tuln | grep :80You should see:LISTEN 0 511 *:80 *:*
Check the Default Nginx Page Exists
ls /var/www/html/index.nginx-debian.htmlReboot (Optional)
Sometimes restarting helps apply settings:
sudo rebootStage 3: Install Essential Tools
sudo apt install python3-pip git unzip python3-venv -yStage 4: Set Up FastAPI Project
Create Project Directory
sudo mkdir -p /var/www/dydevops
sudo chown $USER:$USER /var/www/dydevops
cd /var/www/dydevops
Create Virtual Environment and Install Dependencies
python3 -m venv fstv
source fstv/bin/activate
pip install fastapi uvicorn jinja2 aiofiles sqlalchemy mysql-connector-python python-multipart python-slugify
Create a Basic FastAPI App (main.py)
from fastapi import FastAPI
app = FastAPI()
@app.get("/")
def read_root():
   return {"message": "FastAPI is live!"}
Run the App
uvicorn main:app --host 127.0.0.1 --port 8000Or in background:
nohup uvicorn main:app --host 127.0.0.1 --port 8000 &Stage 5: Create a Systemd Service for FastAPI
sudo nano /etc/systemd/system/dydevops.servicePaste:
[Unit]
Description=FastAPI Blog with Uvicorn
After=network.target

[Service]
User=ubuntu
WorkingDirectory=/var/www/dydevops
ExecStart=/var/www/dydevops/fstv/bin/uvicorn main:app --host 127.0.0.1 --port 8000
Restart=always

[Install]
WantedBy=multi-user.target
Enable the service:
sudo systemctl daemon-reexec
sudo systemctl daemon-reload
sudo systemctl start dydevops
sudo systemctl enable dydevops
sudo systemctl status dydevops
Stage 6: Configure Nginx Reverse Proxy
sudo nano /etc/nginx/sites-available/dydevopsPaste:
server {
    listen 80;
    server_name 140.245.99.185;

    location / {
        proxy_pass http://127.0.0.1:8000;
        proxy_set_header Host $host;
        proxy_set_header X-Real-IP $remote_addr;
    }
}
Enable site and restart Nginx:
sudo ln -s /etc/nginx/sites-available/dydevops /etc/nginx/sites-enabled/
sudo nginx -t
sudo systemctl restart nginx
Configure UFW Firewall
Enable HTTP/HTTPS and test port:
sudo ufw allow OpenSSH
sudo ufw allow 80/tcp
sudo ufw allow 443/tcp
sudo ufw allow 8000/tcp
sudo ufw enable
sudo ufw reload
sudo ufw status
Final Checklist
- Access app:
http://<your_public_ip> - Service status:
sudo systemctl status dydevops - Port check:
sudo ss -tuln | grep :80 - Firewall:
sudo ufw status - Reboot if needed:
sudo reboot
You're Done!
Your FastAPI app is now live and production-ready on Oracle Ubuntu with Nginx as a reverse proxy.


